Page 24 of 26
Re: 1/18
Posted: Sat Feb 16, 2008 1:40 pm
by draknoir2
Manx:
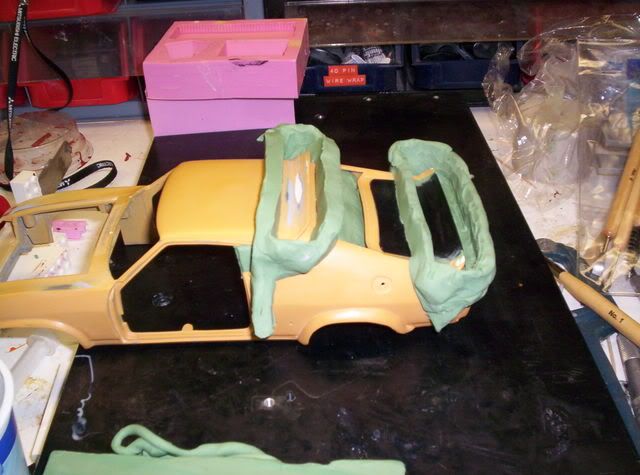
I started grabbing detail off your model... beginning with the roof and boot spoilers.
Looks like you need a gas cap too. I'll put it on the list.

Re: 1/18
Posted: Sat Feb 16, 2008 1:44 pm
by mad_manx
I think I need a towel now.....

Re: 1/18
Posted: Sat Feb 16, 2008 1:46 pm
by mad_manx
You know, Drak....in a week you've already done more than I've done on that body in years. Looking kinda creepy covered in green & pink goo, but I'm liking it.

Re: 1/18
Posted: Sat Feb 16, 2008 2:38 pm
by Bronze21
So, whenever the BoB 2 finally shows up, are you going to still need the spoilers, or just the flares? I'm curious to see how close all of our scratch-built parts are to the Autoart model. Lemme know. Excellent work Drak.
Re: 1/18
Posted: Sat Feb 16, 2008 3:21 pm
by draknoir2
Bronze21 wrote:So, whenever the BoB 2 finally shows up, are you going to still need the spoilers, or just the flares? I'm curious to see how close all of our scratch-built parts are to the Autoart model. Lemme know. Excellent work Drak.
Thanks... yeah, I'll need both the spoilers and flares, since they are different from Manx's.
I now have my XB completely dismantled. I think I'll do some metal casting next... bonnet and boot.
Looks like I'm getting a good cure on the rubber this time.
Re: 1/18
Posted: Sun Feb 17, 2008 11:44 am
by draknoir2
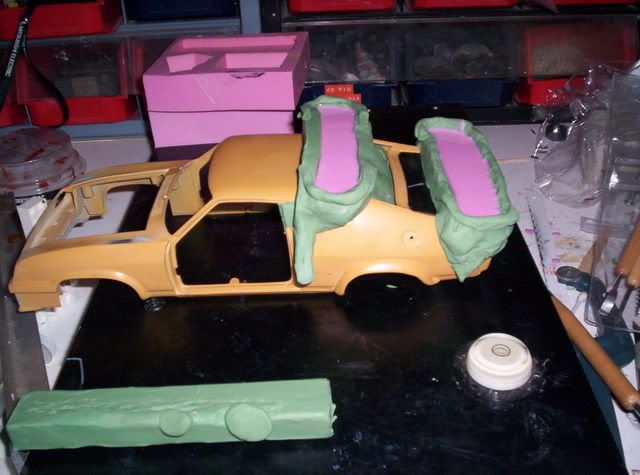
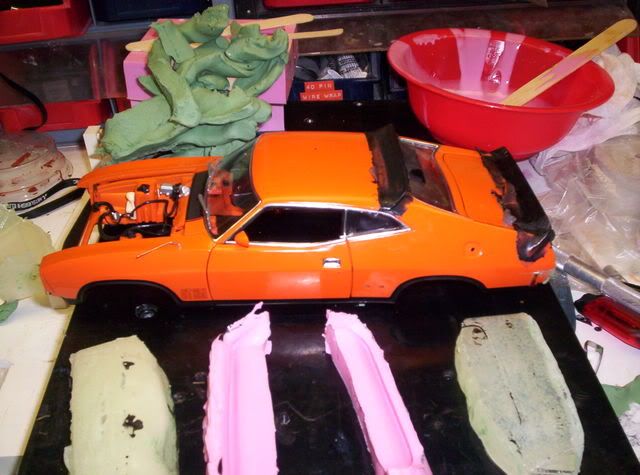
The molds off Manx's car are done... now I have to make rigid bottom halves off my car so that the spoilers will mate perfectly.
Re: 1/18
Posted: Sun Feb 17, 2008 2:21 pm
by draknoir2
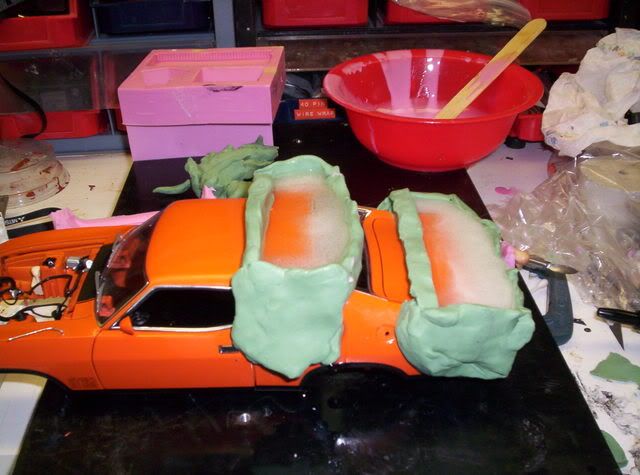
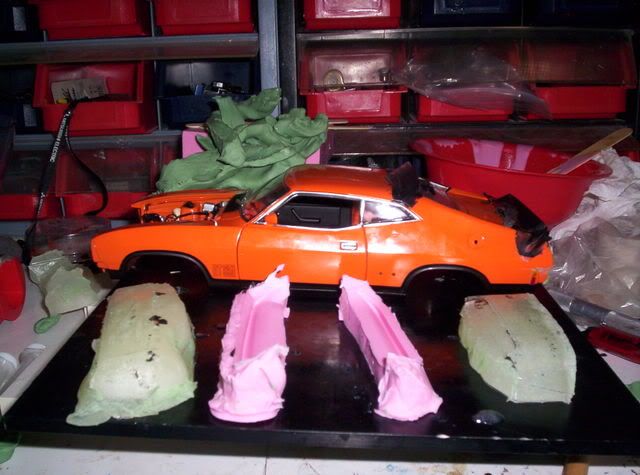
The master castings are mocked into place while still soft, flash and all, so that they take on the contours of the actual model while hardening. Once fuly cured, the bubbles will be filled, flash removed, and new molds of the masters will be made.
These were a pain in the rear to make.
Re: 1/18
Posted: Sun Feb 17, 2008 4:44 pm
by draknoir2
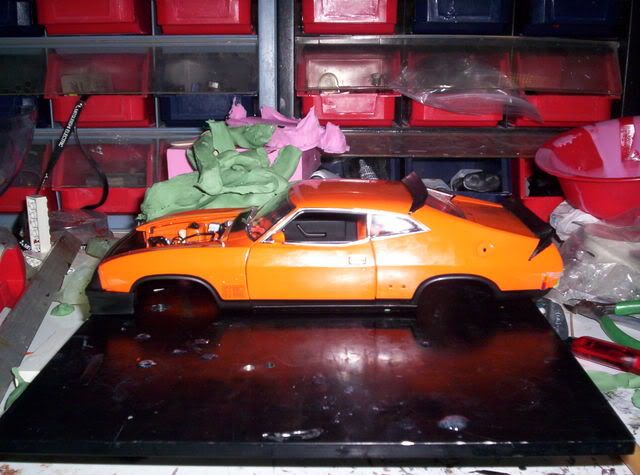
Getting closer.... they still need a lot of work before they can be used as masters, but this is about how they will look.
Re: 1/18
Posted: Sun Feb 17, 2008 6:17 pm
by Chase Bansi
Count me in as interested in getting parts, you guys are doing some incredible work. I'm still having a hard time with spending $200 for a car to modify but I'm interested.
Would this XA be a good starting point?
http://cgi.ebay.com/1-18-Ford-XA-Falcon ... dZViewItem
Not having to paint door jams and under the hood would be a bonus.

Re: 1/18
Posted: Mon Feb 18, 2008 3:04 am
by Bronze21
CHASE: NO. You're better off getting an XB to begin with. One by Biante instead of Classic Carlectables. Just like the 1:1 scale cars, there's differences...like the door handle cup being molded in on the XA versus the rectangular plate, the tail lights are slanted in a pocket versus an applique style like on the XB/XC, the front guards/fenders are the wrong shape at the front, the gauge cluster trim is smooth versus textured in the XB, the interior trim might be different, the bonnet leading edge and the scoops are the wrong shape, and I don't know if XB Biante parts will fit on it (bonnet hinges for one). The base cars Manx/Drak and myself are using, is the Tango/Apollo XBGT by Biante, so that's what the parts we're making is all geared towards. If you can, get a Tango versus an Apollo Blue XBGT, they're cheaper for one, and they have a few new details that the older one doesn't. In the interior of the Biante, it's already black, so all you'll have to do is make the light, RVS radio, put the blower switch on the shifter, sand the ribs off of the wheel spokes, and drill the little holes.
Now, that new CC XAGT, does look ripe for a red XA though. When is the stock sedan, race sedan and XA Superbird supposed to come out?
DRAK: Isn't the bottom edge of the greenhouse spoiler supposed to blend at the mid-point of the quarter window? It looks like its ending at the corner point like on my 1:1 car. The boot spoiler looks good.