Building the Humungus machine

Like the name says...
User avatar
HUMVEE Driver
Posts: 1316
Joined: Sun Oct 17, 1999 4:18 am
Location: Detroit area, USA
Contact:

Re: Building the Humungus machine

Post by HUMVEE Driver »

Today I finished mounting the rails (or whatever you want to call them) that are raising the rear up a few inches. I put some cross members in between them for more stability. Next up was taking off the tail light mounts and modifying them to be moved from under the vehicle (for display) and set where they belong (when I'm driving.) I also gave my acetylene torch a workout and cut off the rear bumper.

Image
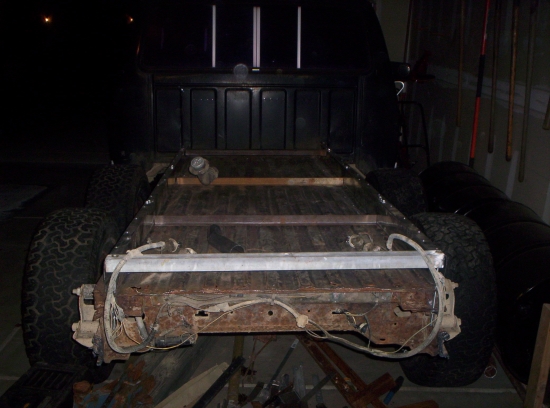
The tail light wires are on top there.

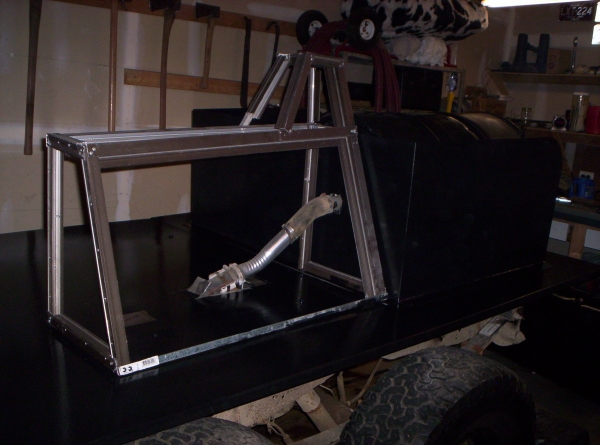
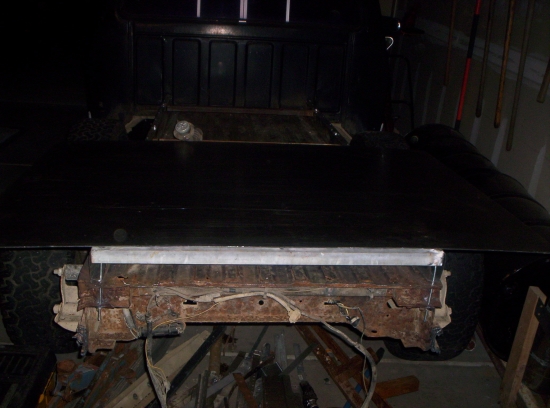
Then I put one of the 66x46 plates on there to see how it looks.
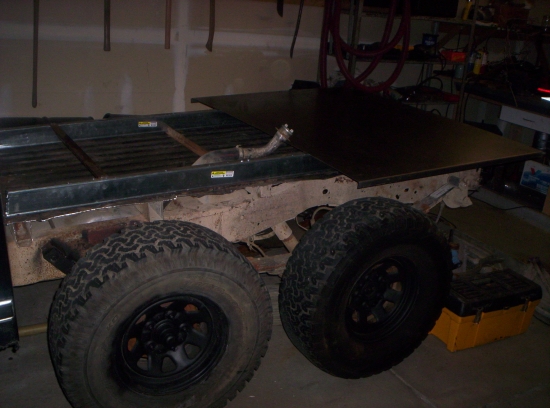
Image
:twisted: :twisted: :twisted:

Image
A side look at it.

Image
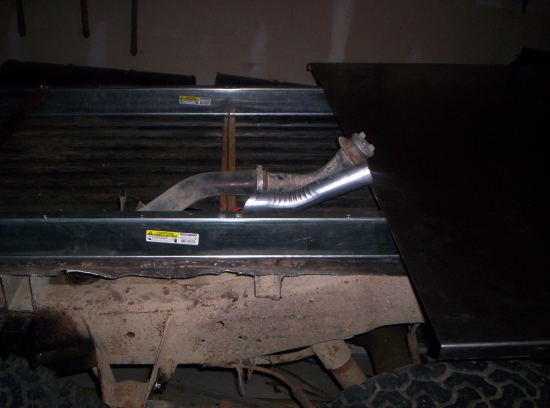
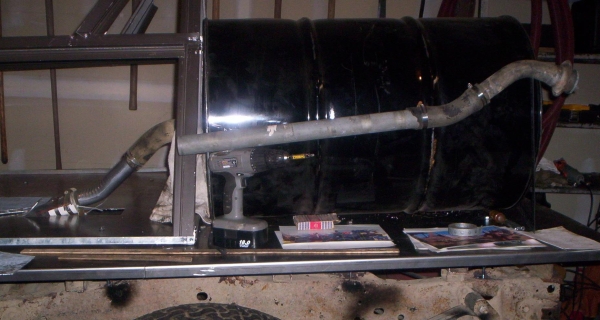
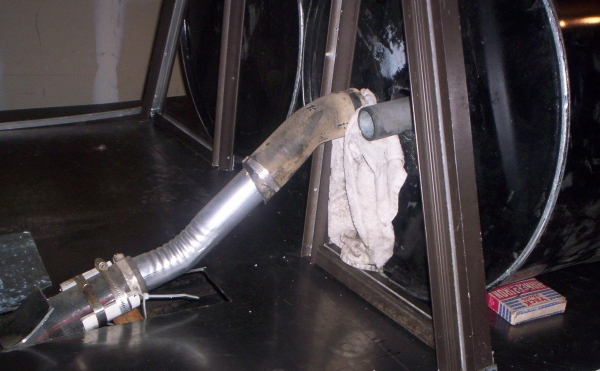
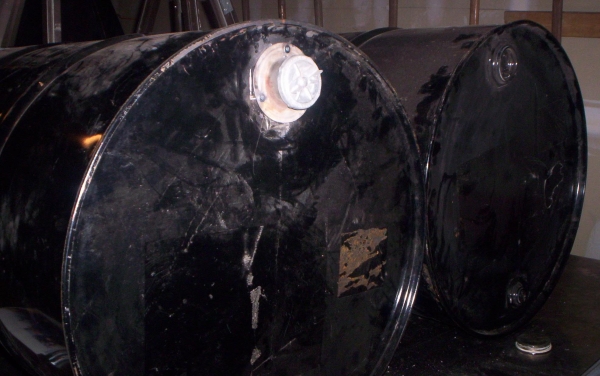
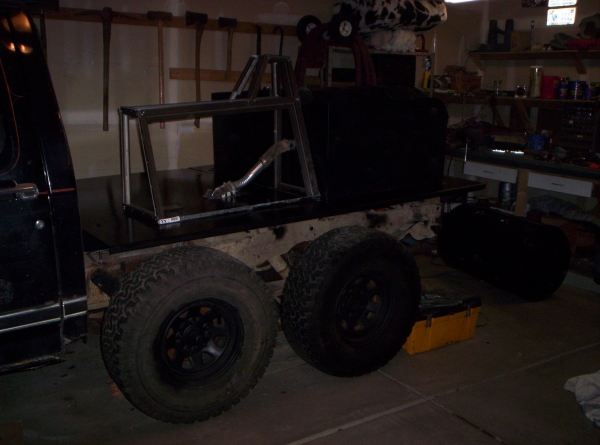
At the auto parts store I saw a exhaust pipe end piece that is the perfect diameter, length, and bend for my gas filler hose extension. So that piece is going where the existing one is now, then a four foot rubber hose running up through the 55 gallon drum, then the stock gas cap piece gets put on the end of that and screwed into the top rear of the drum. Monday I go to a junkyard to look for the rubber hose I need. They let you walk around and pick pieces out there.

HUMVEE Driver
"I'll see you on the road!"
http://www.madmaxmodels.com
User avatar
HUMVEE Driver
Posts: 1316
Joined: Sun Oct 17, 1999 4:18 am
Location: Detroit area, USA
Contact:

Re: Building the Humungus machine

Post by HUMVEE Driver »

I wanted to get a 4 foot hose rated to handle gasoline, but that would have cost some big bucks. So at my favorite junkyard I got some shorter sections. I connected them to a pipe I had laying around and my custom gas filler hose is ready to be put in. It is a lot more 'piecemeal' than what I had in mind, but it will work.

Here it is shown on the outside of the 55 gallon drum:
Image

Image

Here it's inside the drum, and ready to be clamped to the rest of the custom filler hose:
Image

The original gas cap, bolted to the top rear of the drum:
Image

I have the rear bumper piece being made now, and I should have that in hand and bolted on in a few days. I had to take the sheet metal off the seat frames in order to put some bends in them. As soon as I get those back, I can bolt them on, then bolt on the rear sheet metal that holds the spoiler/wing, and then use some gas tank strap-type material to hold the 55 gallon drums down. I have some black outdoor paint for steel lined up, too. As soon as it's painted, all I have to do is fix up the tail lights and the rear is complete.

HUMVEE Driver
"I'll see you on the road!"
http://www.madmaxmodels.com
User avatar
Bad cop
Posts: 918
Joined: Sat Jul 30, 2005 5:54 pm
Location: Medford, Oregon
Contact:

Re: Building the Humungus machine

Post by Bad cop »

I'm stunned! Awsome job! not only that but is that a rare Humungas truck shot on the vehicle? :D
"Between them and us, there's not enough runway!"
User avatar
HUMVEE Driver
Posts: 1316
Joined: Sun Oct 17, 1999 4:18 am
Location: Detroit area, USA
Contact:

Re: Building the Humungus machine

Post by HUMVEE Driver »

Yep; I've looked everywhere to find different images of the vehicle.

My custom gas filler hose is in place and I got the sheet metal for the seat back. I also bought some knives to put on either side if the seat, and two ammo cans to go on each side in the rear. The real Humungus vehicle had some kind of battery boxes back there, but my ammo cans are going to have to be close enough. Today I put some of all that together and painted as much as I could. I should have the rear 'bumper' metal piece in hand tomorrow.

Here I have one of the knives on, and the two ammo boxes on top after being painted.
Image

A look at the 55 gallon drum with the gas fill hose going through it.
Image

The front part of the filler hose. I've left the sheet metal off the frame here because I'll need to get in there to set up the shifter linkage. Yeah, wish me luck with that...
Image

Just another look at it.
Image

HUMVEE Driver
"I'll see you on the road!"
http://www.madmaxmodels.com
User avatar
Bad cop
Posts: 918
Joined: Sat Jul 30, 2005 5:54 pm
Location: Medford, Oregon
Contact:

Re: Building the Humungus machine

Post by Bad cop »

Awsome Job! Where did you find the images by chance? ;)
"Between them and us, there's not enough runway!"
mack tanker
Posts: 472
Joined: Tue Apr 10, 2007 4:39 am
Location: USA-Arizona

Re: Building the Humungus machine

Post by mack tanker »

Find a shifter out of an old stang or maverick or torino 60's to early 70's and a morse remote cable
The control cable's were used on rubbish packer's and roll-of trucks
User avatar
aussie muscle
Posts: 969
Joined: Tue Apr 18, 2006 7:00 am
Location: Bombala Australia

Re: Building the Humungus machine

Post by aussie muscle »

awesome work so far. keep at it. :mrgreen:
User avatar
HUMVEE Driver
Posts: 1316
Joined: Sun Oct 17, 1999 4:18 am
Location: Detroit area, USA
Contact:

Re: Building the Humungus machine

Post by HUMVEE Driver »

The next major step will be relocating the trans shifter. And... I have no idea how to do it. I can fabricate any type of mount to hold the new shifter where I need it. But, I don't know how the shifter works. If I knew that I'd have a better idea of how to do the rest. I'm going to be getting a T handle shifter from a Torino or a Mustang, with the little button you depress to move it. What I need to know is:

1. What actually happens (mechanically) when you press in that button, or like when you pull the shifter on the steering column towards you? I know it releases the shifter so it can be moved, but how? Some pics might be helpful.

2. What is the best way to take apart the existing shifter (on the steering column) in order to move it?

3. Maybe I should have asked this first... but with little to no experience with transmission stuff, maybe I should take this somewhere to have it done?

I can just imagine all the real mechanics reading this and shaking their heads...

HUMVEE Driver
"I'll see you on the road!"
http://www.madmaxmodels.com
mad dan
Posts: 693
Joined: Mon Dec 03, 2007 1:05 am
Location: Australia

Re: Building the Humungus machine

Post by mad dan »

just get under the car and get someone to move the shifter back and forth and look at whats going on down there. a steel rod from the shifter to the trany will be moving when the shifter is moved. just follow wher it goes and you'll start to understand what is happening. then...just extend that rod to suit when ya move the shifter to where you want.

hope that shitty explaination helps........ :)

DAN
...sorta slow motion. he leaves the seat, goes through the windscreen, headfirst straight into the tree...right. and then, bounces back through the windscreen. by the time we got to him.. he was just sittin there trying to scream with his face ripped off......whats the matter?
Mad Maxwell
Posts: 259
Joined: Mon Jan 24, 2000 8:02 am
Location: RTP, North Carolina, USA

Re: Building the Humungus machine

Post by Mad Maxwell »

The shifter will be easy, easy, easy! Those ford shifters are completely self-contained. The button simply activates the gate mechanism contained within the shifter assembly to allow the handle to move.

When you move the lever, another lever sticking out of the bottom of the shifter moves back and forth in response to your input. In it's original installation, this lower lever was connected by a 1 foot (or so) solid rod to the trans control.

If it was me doing this, I'd use either a Morse (as stated by someone else) or a Teleflex boat shifter cable. They come in lots of lengths and would be easy to adapt with a little fabrication.
Evan "Mad" Maxwell


"Oh my God, what happened?"


"I don't know man I just got here myself."
Post Reply